Home / Workshop / Workshop · Brakes
Workshop · Brakes · · 9 min readAdjusting V-brakes at home without new parts
Most British commuter bikes still run V-brakes. Most of those V-brakes are set up wrong. Here is how to put yours right in forty minutes.
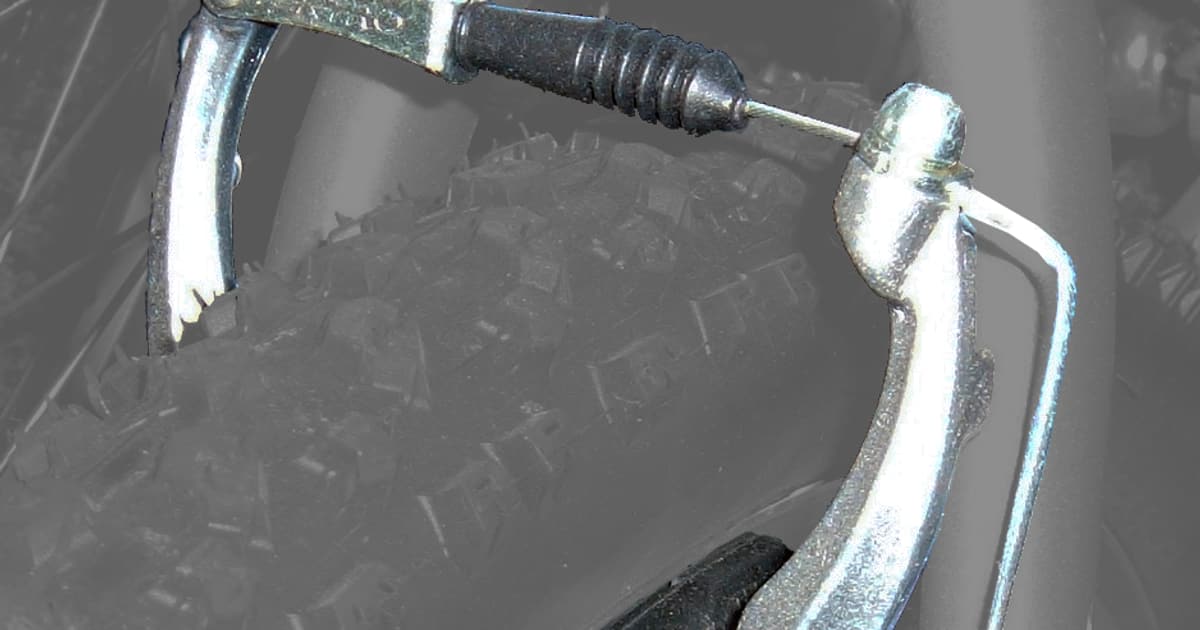
Photo: Keithonearth, CC BY-SA 3.0, via Wikimedia Commons.

If your brakes squeal on damp mornings in Dulwich, pull unevenly, grab the rim without warning, or go to the bar before they bite, you probably do not need new ones. You need an hour, a 5 mm Allen key, a Philips screwdriver, a steel ruler and a little patience.
This is V-brakes only. Cantilevers are cousins but set up differently. Disc brakes are a separate conversation; we will do those another month.
What a V-brake wants
The job of a V-brake is simple: when you pull the lever, two pads clamp the rim at the same time, with the same force, flat against the braking surface, and let go cleanly. If any of those four things is wrong, something else will be wrong too.
- Pads land square on the rim, not on the tyre, not hanging off the bottom.
- Both arms move the same distance when you pull the lever.
- The lever starts to bite with about a thumb's width of travel.
- The pads clear the rim fully when the lever is released.
Everything below is a way of chasing those four.
Step 1 , Clean and look
Take the wheel out. Wipe the rim braking surface with a rag; a little isopropyl works if it is oily. Look at the pads. If the grooves are gone, or you see aluminium flecks embedded, or they are hard and shiny from age, they are done. Fresh pads are a few quid and will solve more problems than any adjustment. Put the wheel back in, check it is seated straight in the dropouts and the quick release is tight.
Step 2 , Set the pads
Undo the pad bolt enough that the pad moves. Hold the arm against the rim as it would be under braking. The pad should sit with its top edge about 1 mm below the top of the braking surface, centred vertically, and flat (not tilted). Now give the front of the pad a hair of "toe-in": the leading edge touches first by perhaps the thickness of a business card. This is what stops the squeal.
A trick that works: put a folded postcard between the back of the pad and the rim, press the arm in, nip the bolt up, remove the postcard. Do each pad on each side in turn. Tighten the pad bolt properly; they loosen easily.
Toe-in: the front of the pad meets the rim first by about a card's thickness.
Step 3 , Centre the arms
Pull the brake lever. Both arms should swing in by the same amount. If one arm arrives first, screw its spring-tension screw in (clockwise) a quarter turn. The screws sit on the outside of each arm near the pivot, usually a small Philips. Screwing in on one side pulls that pad away from the rim. Work in quarter turns; it moves faster than you expect.
If you have run out of adjustment on one side, undo the cable guide noodle or the pinch bolt, let the arms sit at rest, and re-seat the cable. Nine times out of ten the arm was simply hanging up because it had been set with the cable dragging it over to one side.
Step 4 , Tension the cable
Undo the cable pinch bolt. Hold both pads lightly against the rim with your fingers. Pull the cable through with pliers so the slack is taken up with the pads touching. Nip the bolt back. Now release , the spring pulls the pads off the rim. Squeeze the lever. It should bite when the lever is about a third of the way to the bar, and have a firm, dull feel at full pull, not a springy one.
If the bite is too close to the bar, undo the barrel adjuster (either on the lever or on the noodle) a turn or two to add tension. If the pads rub the rim on release, screw the barrel adjuster back in. Lock-ring tight. Spin the wheel to check nothing drags.
Step 5 , Bed in and ride
Find a quiet, flat stretch. Ride up to about ten miles an hour and brake firmly to a stop. Repeat ten times. This beds the pad material into the rim and removes any glaze. Brakes that felt vague before will now bite.
Common things that go wrong
One pad touches when the other does not
Spring tension is uneven. Adjust the screw on the side that is further from the rim. If you have run out of screw, check the spring is seated in the correct hole on the frame boss. There are usually three holes; the middle one is standard.
Lever pulls back to the bar
Cable has stretched or the pads are worn. Tighten the barrel adjuster. If that is maxed out, re-pinch the cable tighter.
Squeal that sandblasted rims will not fix
No toe-in, or glazed pads. Re-toe. Sand the pad face lightly with coarse paper to reveal fresh rubber. Clean the rim.
Brakes work in the dry, fail in the rain
This is the limit of any rim brake. Keep rims clean, use good pads, and allow two or three times the stopping distance when it is wet. On long wet descents, feather the brakes rather than hold them.
How often is this needed?
Once a season for an everyday commuter; every couple of months if you ride in London winter grit. The Highway Code expects your bike to be roadworthy: see rule 60 and the rest of the cyclist rules. Working brakes are part of that.
If you want the long story on how rim brakes actually work, Sheldon Brown's articles on brakes are still the most honest reading on the subject.
Pads worn? Good time to glance at the chain as well; see our note on chain wear. Both wear in silence until they bite you at once.
A V-brake with fresh pads, toed in, centred and tensioned will outbrake the clever new thing fitted wrong.
About these pieces. Cranky Bikes is written by the editors and is not affiliated with any other site of a similar name. We do not sell bikes. We do not accept payment for links or coverage. If you spot something wrong, write to [email protected].